

Qt is a popular cross-platform application framework for developing desktop and mobile applications, while OpenCV is a popular computer vision library for image processing and analysis. Integrating these two powerful tools can enable you to create visually-rich applications that use advanced computer vision techniques. In this article, we will learn how to integrate Qt and OpenCV.
Note: The operating system is based on Ubuntu for this article
Step 1: Install Qt and OpenCV
Before we can begin, we need to install both Qt and OpenCV on our Ubuntu. Since the installation steps are longer, I will refer some links to my youtube channel so you can follow the instructions there. Just follow the steps in there very carefully and be sure you have installed both Qt and OpenCV successfully.
Step 2: Create a New Qt Project
Let's create a Qt project to use OpenCV inside. Open the Qt Creator firstly and you will meet a page view:
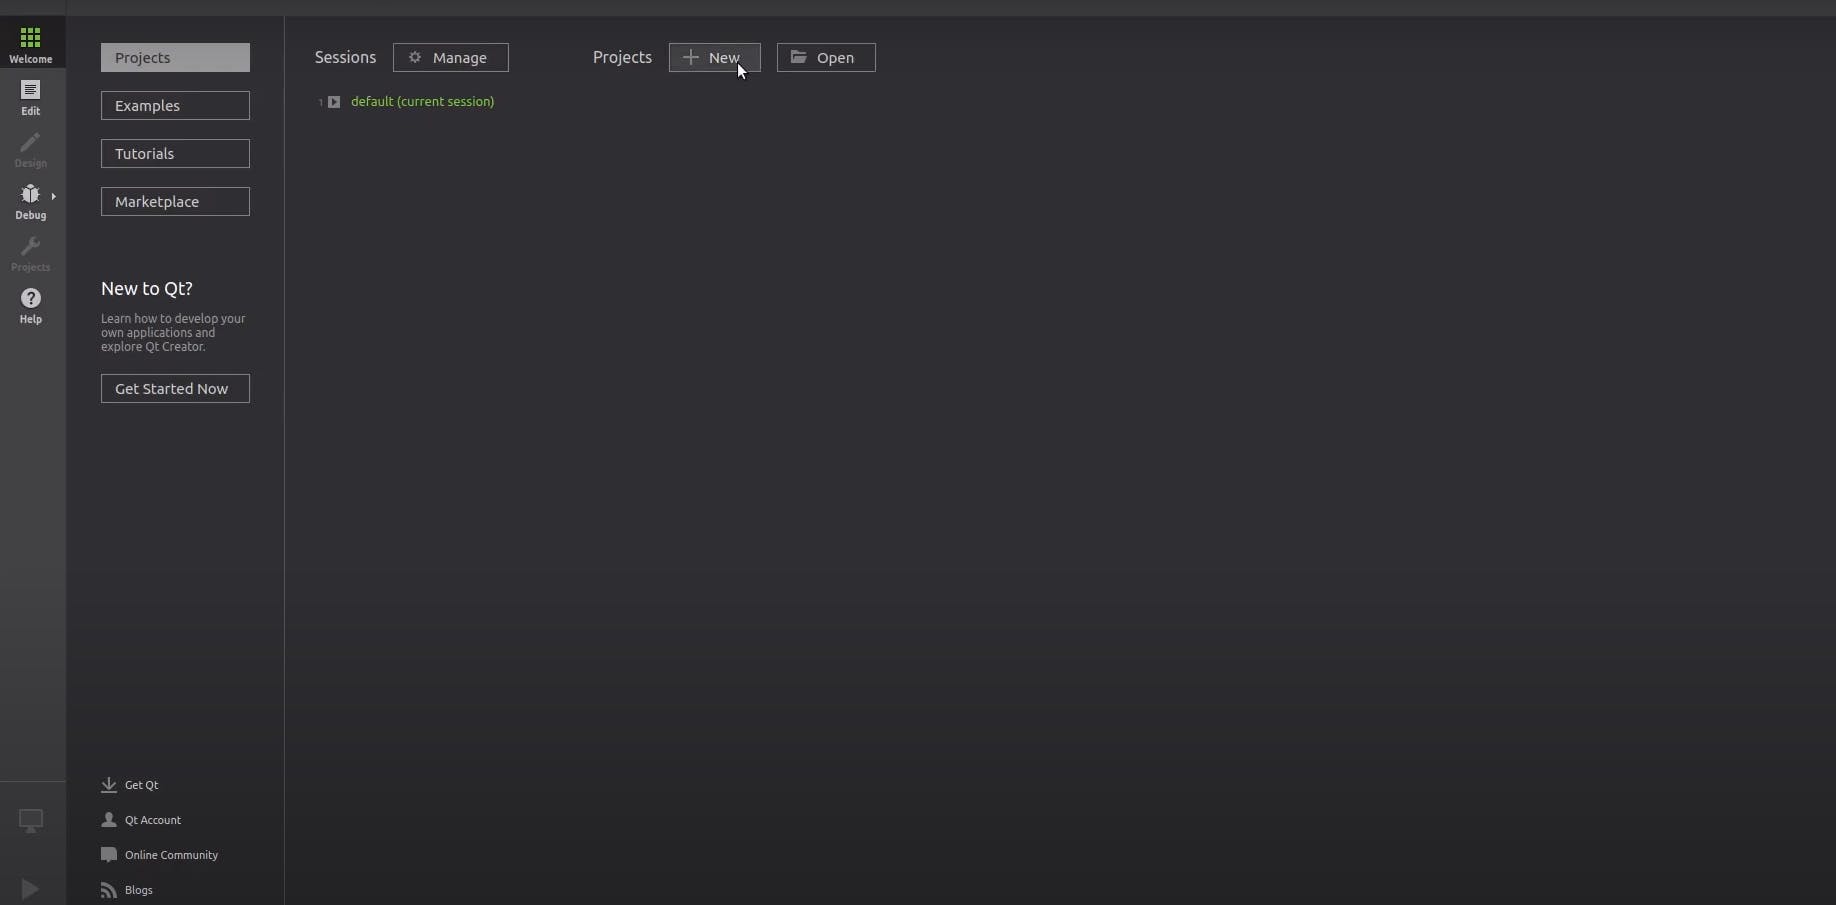
Just click to the New button and then you will come to a page:
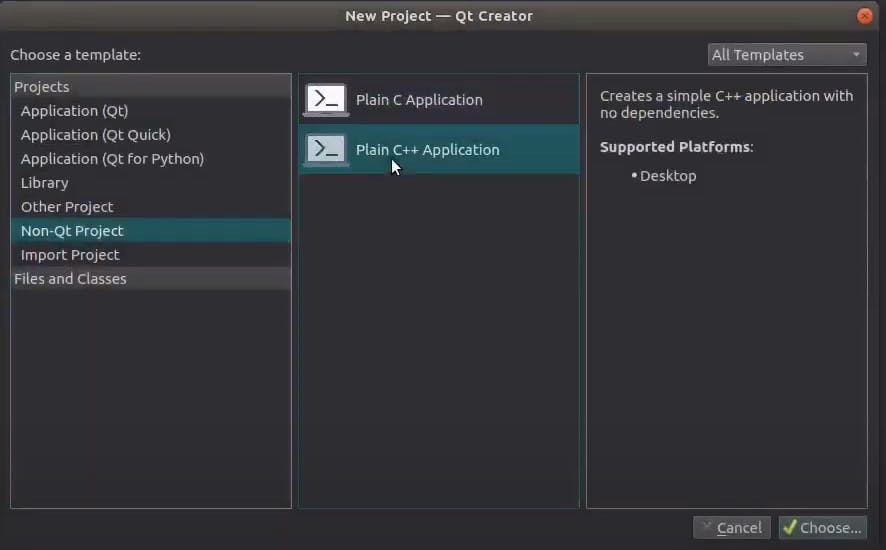
You can choose a different kind of project types but we are gonna start with the simplest one which is "Plain C++ Application". Just select it and continue with Choose button.
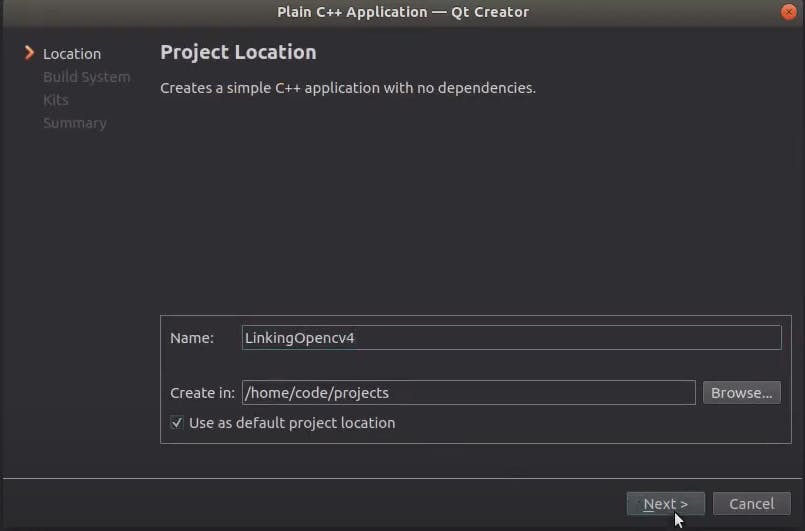
Here you need to give a project name for your project and specify the directory to keep your working files. After your entries, you can press the "Next" button.
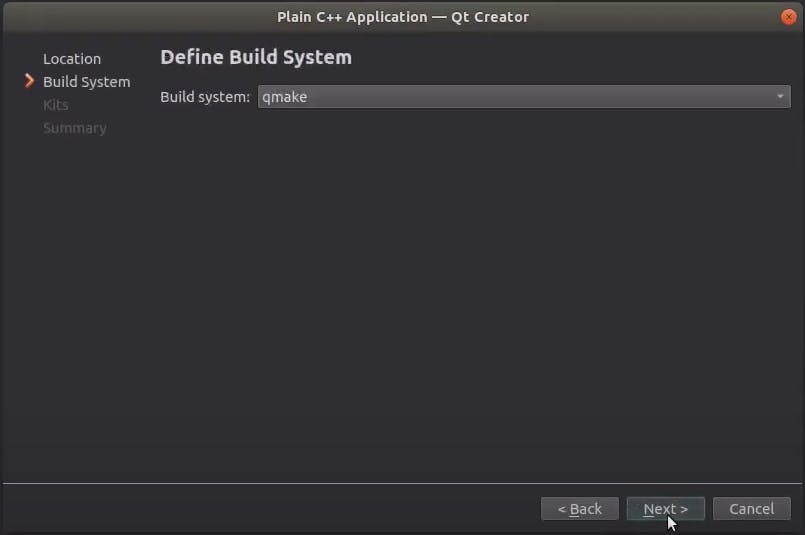
There are two different build systems in Qt: cmake and qmake. In this article, we will use qmake so just select qmake and continue with "Next" button.
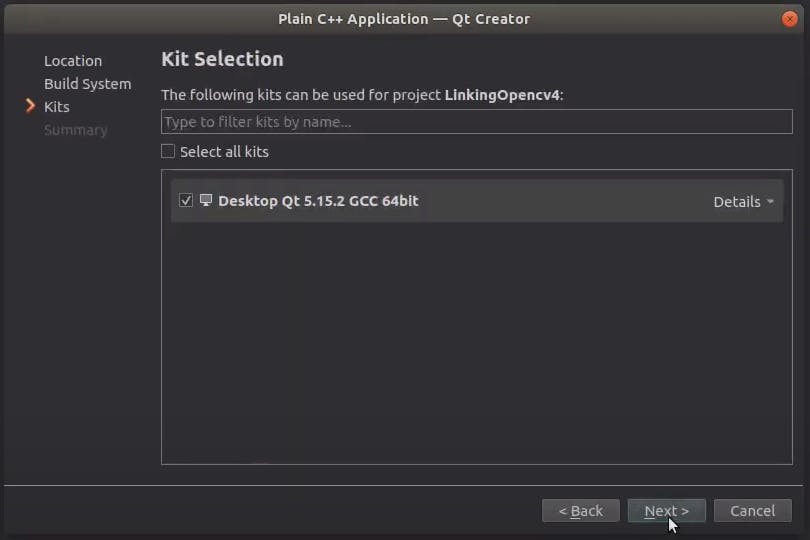
Here select a kit version available on your system and continue with "Next" button. By this step, we have our project and it looks like:
Step 3: Modify Your .pro File
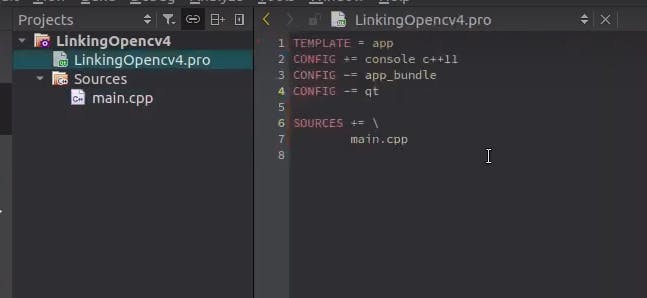
First of all we need to go to the ".pro" file. In Qt, the .pro file is a project file that is used by the Qt build system (qmake) to generate a Makefile for building your application. The .pro file contains information about your project, such as source files, header files, libraries, and dependencies, and it is used to configure the build process. You also see how it looks like in the above image. Since this needs to contain information about libraries, we need to write our library paths or configurations to this file. We call this "library linking".
If you have installed your opencv according to the link I referred above, we can use the way below to link opencv libraries.
CONFIG += link_pkgconfig
PKGCONFIG += opencv4
The point here is that you need to install opencv with
-D OPENCV_GENERATE_PKGCONFIG = ON
This flag will let you to use CONFIG and PKGCONFIG parameters so you can link with these two lines of code easily.
If you didn't install opencv with this flag enabled, then you can use the way:
INCLUDEPATH += /usr/include/opencv4

LIBS += -lopencv_core -lopencv_highgui -lopencv_imgproc -lopencv_imgcodecs
Here you need to specify the path which opencv installed. Then you also need to specify the needed libraries by one by.
Step 4: Build Your Project
After linking opencv, we can create a simple opencv c++ example.
#include <opencv2/opencv.hpp>

using namespace cv;

int main()
{
    // Load an image from file
    Mat img = imread("example.jpg");

    // Display the image in a window
    namedWindow("Image", WINDOW_NORMAL);
    imshow("Image", img);

    // Wait for a key press to close the window
    waitKey(0);

    // Clean up
    destroyAllWindows();

    return 0;
}
In this example, we include the OpenCV header file and use the cv namespace. We load an image from a file using the imread function, and display the image in a window using the imshow function. We also create a named window with the namedWindow function, and wait for a key press to close the window using the waitKey function. Finally, we clean up by destroying all windows with the destroyAllWindows function.
Conclusion
Linking OpenCV libraries to your Qt project on Ubuntu is a simple process that involves modifying your .pro file to include the necessary header files and libraries. By following the steps outlined in this article, you should now be able to use the powerful computer vision capabilities of OpenCV in your Qt projects. You may also visit my youtube channel to have a look.